Hey everyone, hope you are having an incredible day today. Today, we’re going to prepare a special dish, easy ramen jiro at home. One of my favorites food recipes. For mine, I’m gonna make it a bit tasty. This is gonna smell and look delicious.
Easy Ramen Jiro at Home is one of the most popular of recent trending meals in the world. It’s appreciated by millions every day. It’s easy, it is quick, it tastes yummy. Easy Ramen Jiro at Home is something that I have loved my entire life. They are fine and they look wonderful.
To get started with this recipe, we have to prepare a few components. You can have easy ramen jiro at home using 24 ingredients and 22 steps. Here is how you can achieve that.
The ingredients needed to make Easy Ramen Jiro at Home:
- Make ready For making ramen noodles (1portion 250 g x 3)
- Make ready x 3 Strong bread flour
- Take x 3 Water (35 % to flour)
- Take x 3 Bicarbonate of soda (baking soda)
- Prepare For making ramen soup
- Make ready whole~ Chicken carcass
- Make ready ml~ Water
- Get Garlic
- Take thin slice Ginger
- Take Core leaves of cabbage
- Take Pork
- Make ready grams~ Pork back fat
- Make ready For making seasoning base for the soup
- Take Soy sauce
- Take Sake
- Get Mirin-style seasoning
- Take Salt
- Make ready Toppings:
- Prepare plus Pork block
- Prepare to 2 leaves Cabbage
- Make ready packets plus Bean sprouts
- Prepare Shredded garlic
- Make ready You must need this for recreating Ramen Jiro!
- Prepare for each bowl Umami seasoning
Instructions to make Easy Ramen Jiro at Home:
- Make ramen noodles with the ingredients above. Using only strong flour will allow you to handle the dough easily, even with this low water content. You could also buy ramen noodles.
- I don't add salt, so there's no need to let the noodles rest before using. After cutting the noodles, use straight away.
- After draining the blood, boil the chicken carcass quickly in water (not listed). Trim off unnecessary bits.
- Put the prepared chicken in a pot and cover with water. Bring to the boil and continue to cook for 20 minutes. Skim off scum and chicken fat.
- Take out the chicken carcass from the pot and discard as much meat and fat as possible. Put back the carcass to the pot, add the soup vegetables and bring back to a boil.
- I add a little more garlic and ginger than my usual recipe to hide gaminess of chicken.
- For making this soup, I need just chicken bones, really. If you have leftover bones from fried chicken or hot pot, they are good enough to make soup. In this case, use less garlic and ginger.
- This is resultant soup after cooking in a pressure cooker for 90 minutes. If the gaminess of the chicken flavor bothers you, add more garlic.
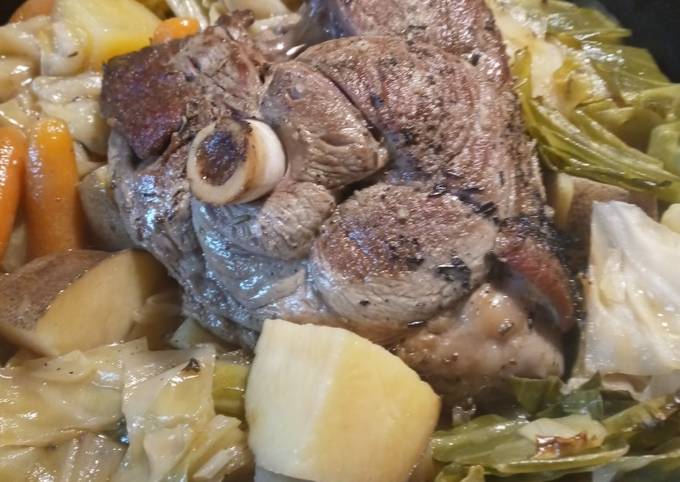
- This is the pork for enhancing the soup flavor. This pork is just for giving the umami to the soup, so use cheap cut.
- This pork is for topping. I use a pork block in a net like this because it was on sale. Use any part of pork you like.
- Add both pork and half of pork back fat to the soup and bring to a boil. Cooking time depends on the size of pork.
- After cooking the pork, take it out of the soup. If the soup has reduced too much, add water.
- Break down the cooked pork back fat into small pieces and put back to the soup with the pork for the soup. Put the rest of the pork back fat for topping.
- Cook in a pressure cooker for 45 minutes. When the back fat for topping is tender, the soup is ready.
- Marinate the pork for topping in the mixed seasoning base for the soup. This base has quite strong soy sauce taste.
- After the marinating the pork for a while, take out the pork from the seasoning base. Transfer the seasoning base to a clean container.
- This is the pork for making soup. After cooking, the pork doesn't have any flavour left. You can use this for making curry dish or soboro, maybe?
- I normally use 120 ml of seasoning base for an individual bowl. Put 90 ml in the bottom of a bowl and use the rest 30 ml for drizzling on top. This is an estimate, so use to your liking.
- I normally use 300 ml of soup for an individual bowl. You can obtain 1500 ml of soup with the ingredients above.
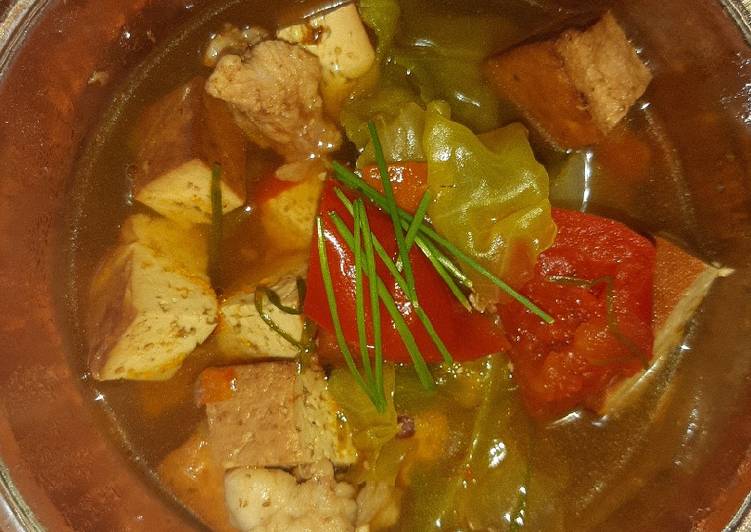
- Start to cook the topping vegetable just before serving. Put the vegetables in the boiling soup to cook.
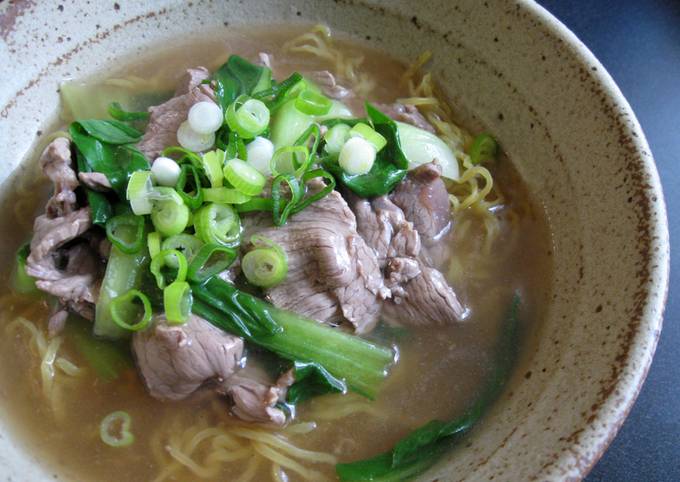
- You need just one minute or so to cook noodles with this thickness. Finish all the preparation before cooking the noodles.
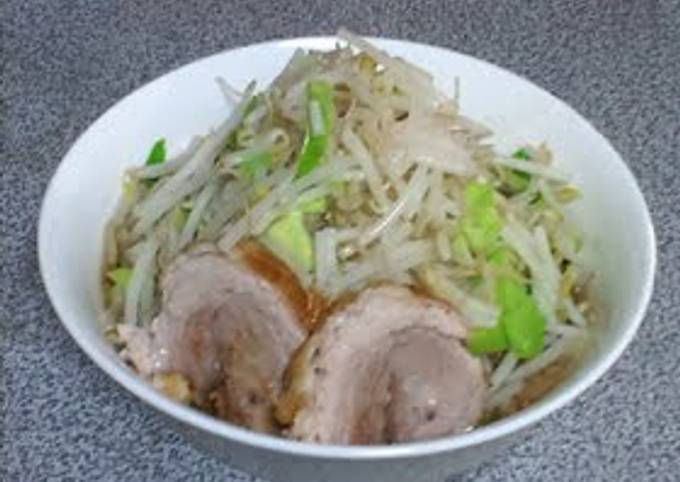
- This is ready to serve! Add more toppings such as grated garlic if you like.
So that’s going to wrap it up with this exceptional food easy ramen jiro at home recipe. Thank you very much for your time. I am confident you will make this at home. There is gonna be interesting food at home recipes coming up. Remember to save this page on your browser, and share it to your family, friends and colleague. Thanks again for reading. Go on get cooking!